


Key Takeaways
Google Slides makes certificate design simple and accessible
Anyone can create clean, professional certificates without design skills or extra tools.Manual certificate distribution doesn’t scale
Downloading, renaming, and emailing certificates one by one wastes time and leads to errors as participant numbers grow.Wauld turns static certificates into scalable digital credentials
By pairing Google Slides with Wauld, educators can issue verifiable, shareable certificates at scale while focusing on recognition instead of administration.
Certificates Shouldn’t Be Complicated
If you have ever finished running a course, workshop, or event and thought, “Okay, now I just need to send the certificates,” only to realise it will take hours, you are not alone.
What sounds simple often turns into a long checklist. Designing the certificate, fixing alignment issues, downloading files one by one, renaming them, emailing participants, correcting name errors, and answering follow-up messages like “I didn’t receive mine” or “Can you resend it?”
Certificates are meant to celebrate achievement.
They should not feel like a post-event headache.
That is exactly why many educators, course creators, and community organizers turn to Google Slides for certificate design and why pairing it with Wauld, a digital credentialing platform, makes the entire process smoother from start to finish.
In this blog, you will learn how to:
Design professional certificates using Google Slides
Avoid common issues with manual certificate distribution
Issue and manage digital certificates with ease using Wauld
Whether you are running an online course, a campus event, a workshop, or a webinar, this approach helps you focus on what matters most. Recognizing learning, not managing logistics.
Why Google Slides Works So Well for Perfect Certificate Design
Google Slides might not be the first tool people associate with certificates, but that is exactly what makes it such a great choice.
Most people already use it. There is no new software to learn, no steep design curve, and no complicated setup. You open a blank slide and start designing.
Here is why Google Slides has become a popular choice for certificate creation.
Familiar and easy to use
You do not need to be a designer to create a clean and professional certificate. Text boxes, shapes, alignment tools, and fonts are simple and intuitive, even if you are designing a certificate for the first time.
Easy collaboration
If you are working with a team, Google Slides allows multiple people to review and edit the certificate in real time. There are no version conflicts and no back-and-forth file sharing.
Consistent branding
Adding your logo, brand colors, and fonts is easy. Once you create a certificate template, you can reuse it across courses, events, or programs while keeping your branding consistent.
Flexible and editable
Need to update a title, spacing, or date? Google Slides allows quick edits without affecting the overall design.
In short, Google Slides is a reliable and accessible way to design certificates that look polished and intentional.
The real challenge usually does not lie in designing the certificate.
It begins when it is time to distribute it, especially at scale.
Certificate Generation with Google Slides in 5 Simple Steps
If you are ready to create a certificate using Google Slides, the good news is that you do not need any special tools or design experience. All you need is a Google account and a little creativity.
Here is a simple walkthrough to help you design your first Google Slides certificate with confidence.
Step 1: Sign in to Google and Open Google Slides
Start by signing in to your Google account. Once logged in, open Google Slides.
If you are already using Google Chrome and signed in, you can go directly to Google Slides from your browser. Everything works online, with no downloads or installations required.
Google Slides is not just for presentations. It is a flexible design tool for creating certificates.
Step 2: Create a New Project
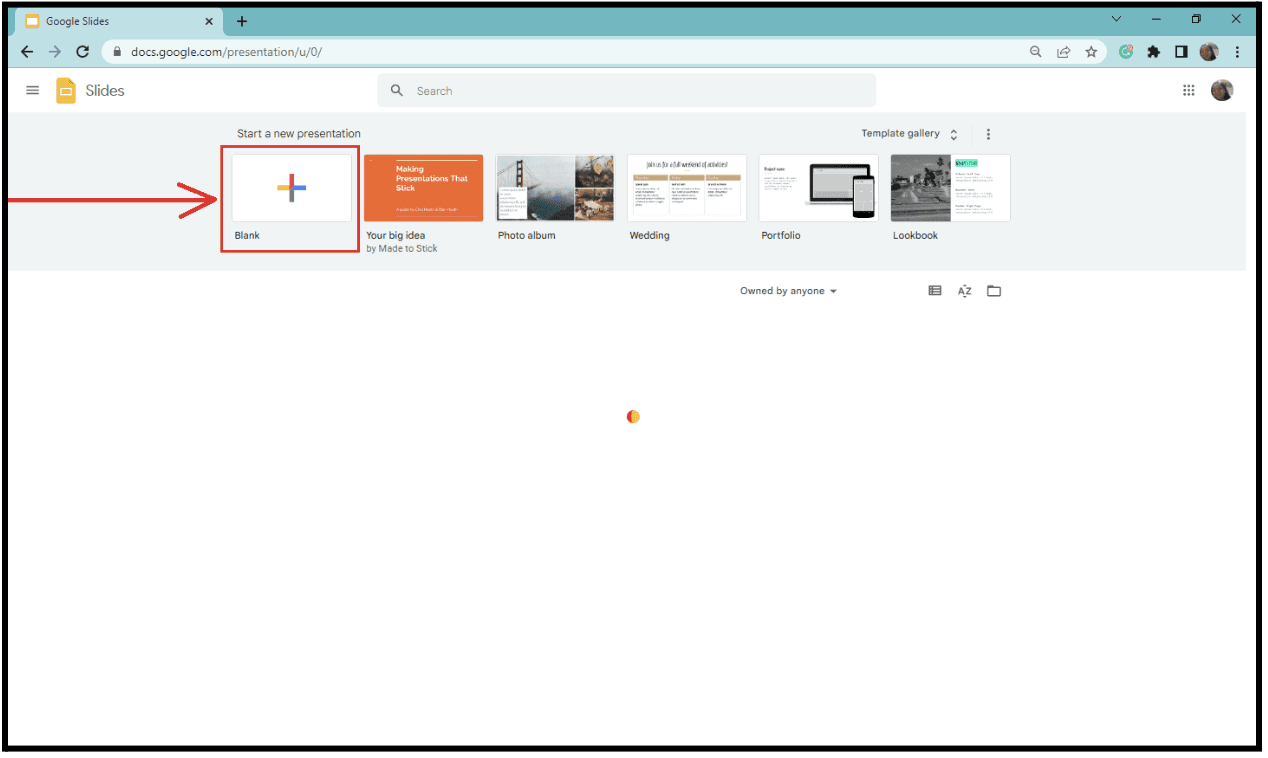
Once Google Slides opens, click on the plus sign to create a new blank presentation.
You will see a fresh slide where your certificate will take shape. Before designing, rename your file in the top left corner. For example, a Course Completion Certificate or a Workshop Participation Certificate. This helps you stay organized, especially when creating multiple certificates.
At this point, you are working with a blank canvas.
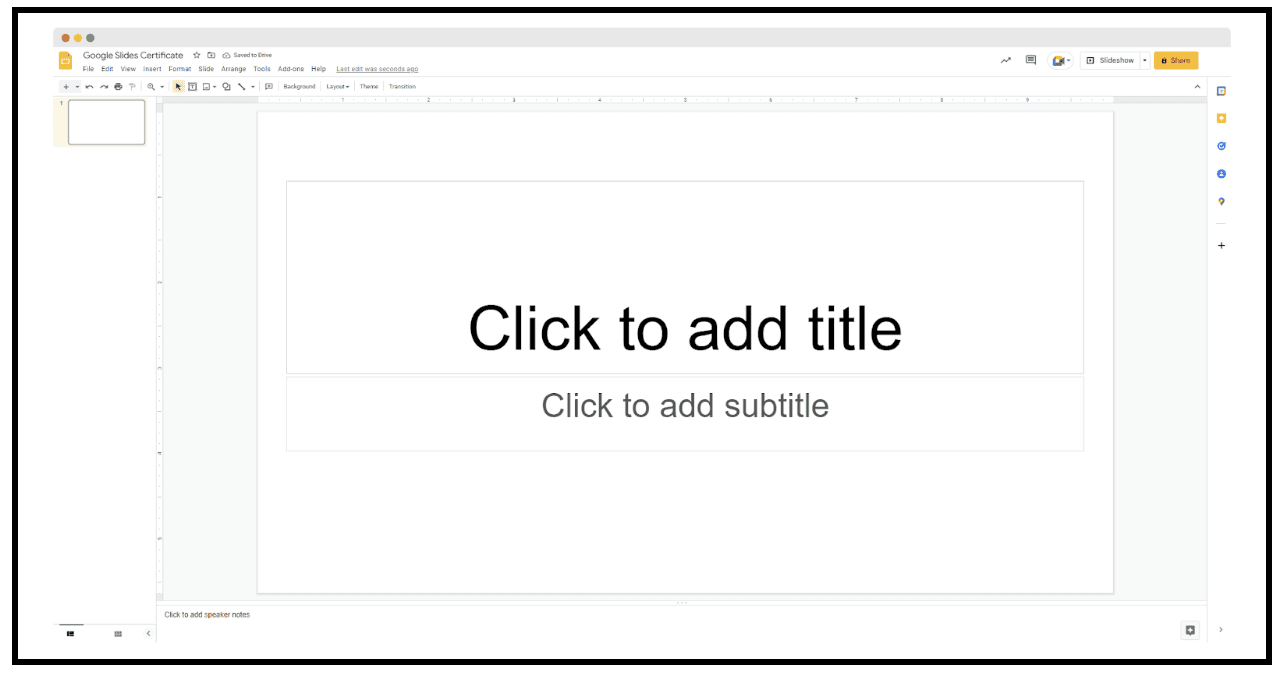
Caption
Step 3: Design the Certificate Background
This is where the creative part begins.
A good certificate background sets the tone and makes the document feel official and shareworthy. In Google Slides, you can customize the background in two simple ways.
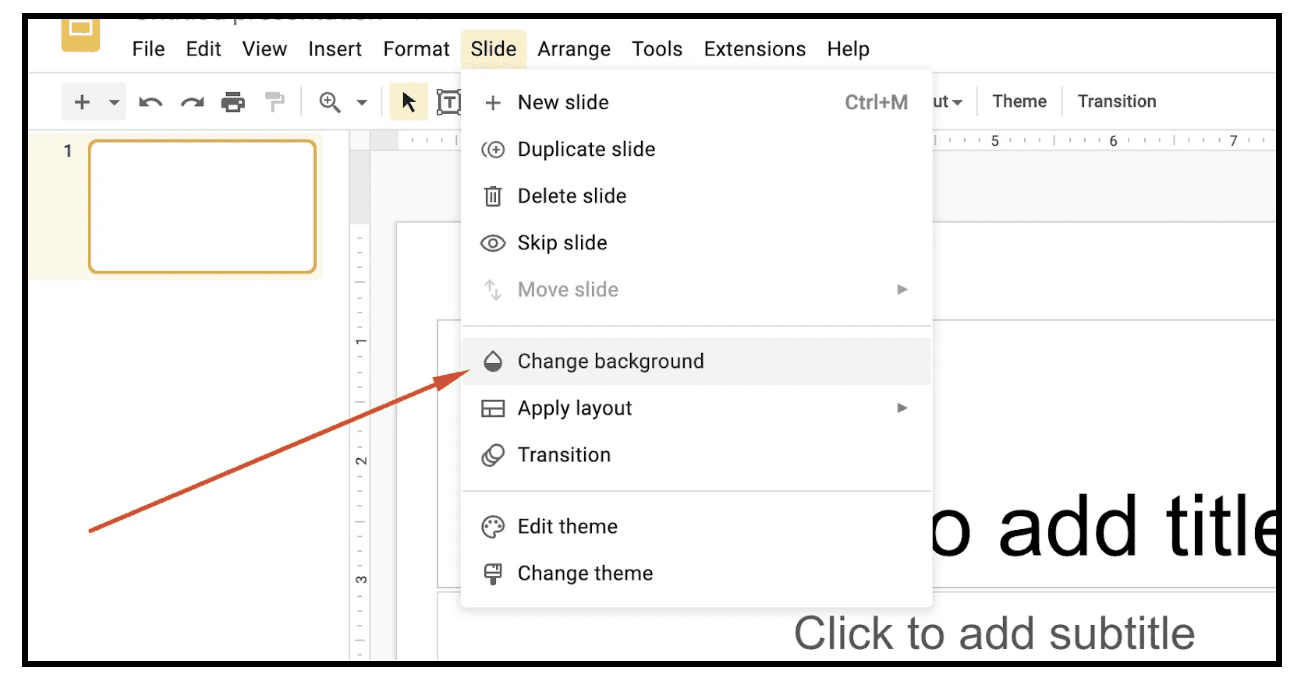
Option one: Change the background color or image
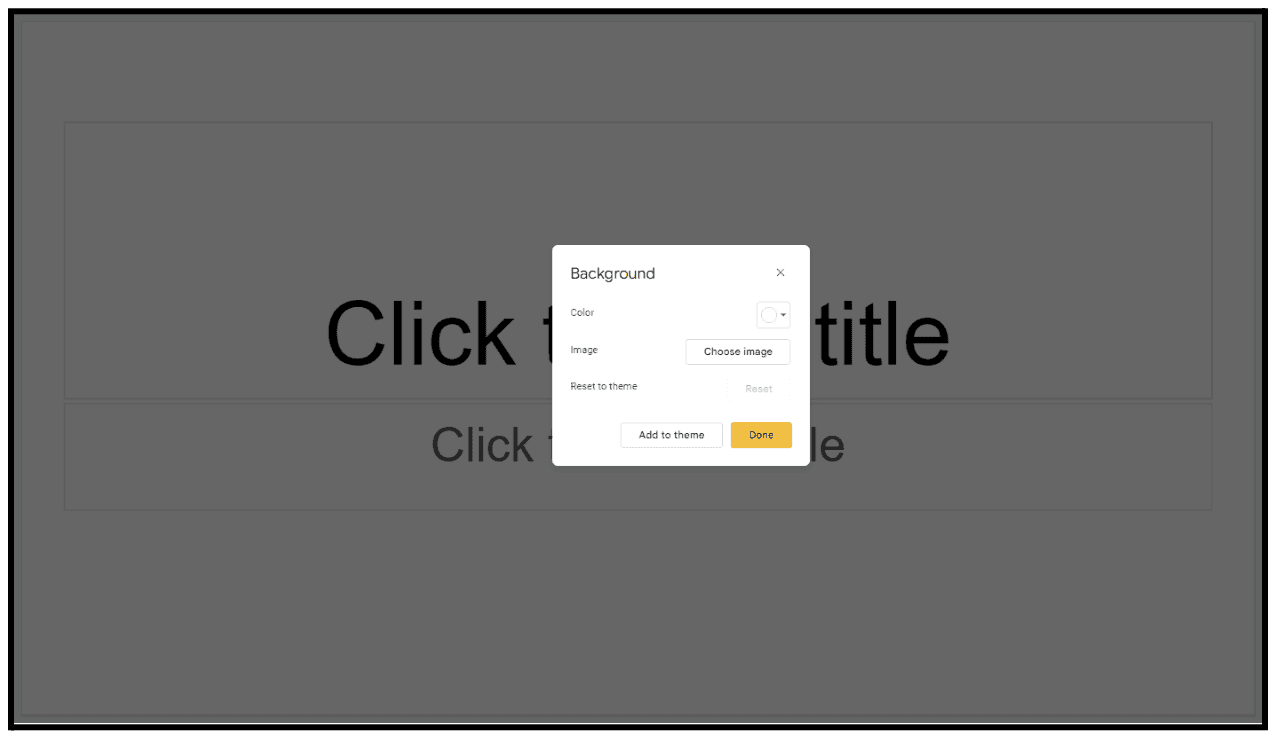
Go to Menu, then Slide, then Change background
Choose a solid color, gradient, or upload an image
Apply the background and save
This option works well if you prefer a clean and minimal design.
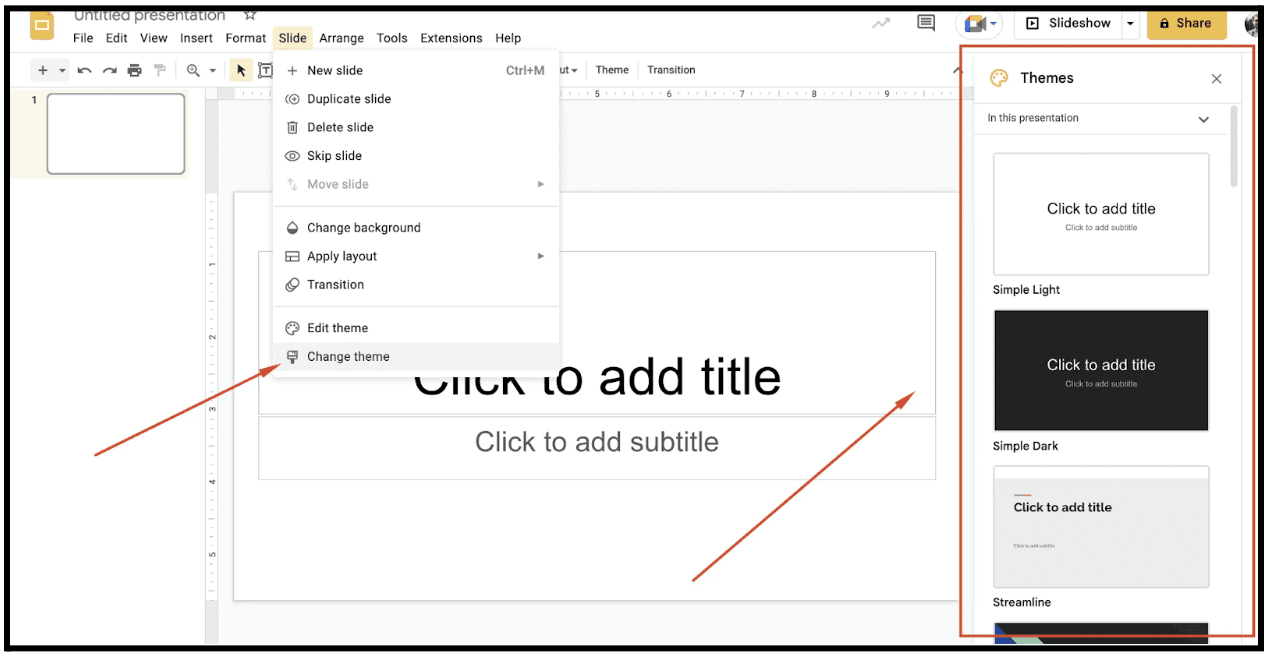
Option two: Choose a theme
Go to Menu, then Slide, then Change theme
Browse the available Google Slides themes
Select one that fits your brand or event style
Themes are useful when you want a quick starting point. You can always customize elements later.
Keep the background simple and readable. Avoid designs that distract from the text.
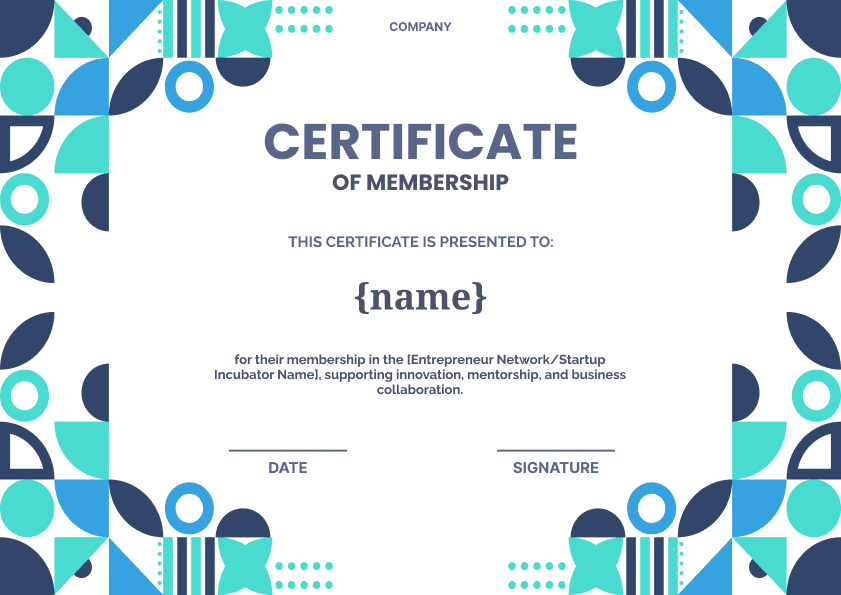
Step 4: Add Visual Elements (Optional)
To enhance your certificate design, you can add subtle visual elements such as shapes, icons, borders, or decorative graphics.
Many creators look for simple design elements online and upload them to Google Slides. These additions can make your certificate look more refined.
Just remember that less is more. The goal is to support the design, not overwhelm it.
Step 5: Add the Certificate Text
Now it is time to add the text that makes the certificate meaningful.
Most certificates include:
A certificate title such as Certificate of Completion
The recipient’s name
The date of issue
The purpose of the certificate
The issuing organization or authority
A logo or signature
Optional details like a short message or a validity period
Use clear fonts, proper spacing, and alignment tools to keep everything professional and easy to read.
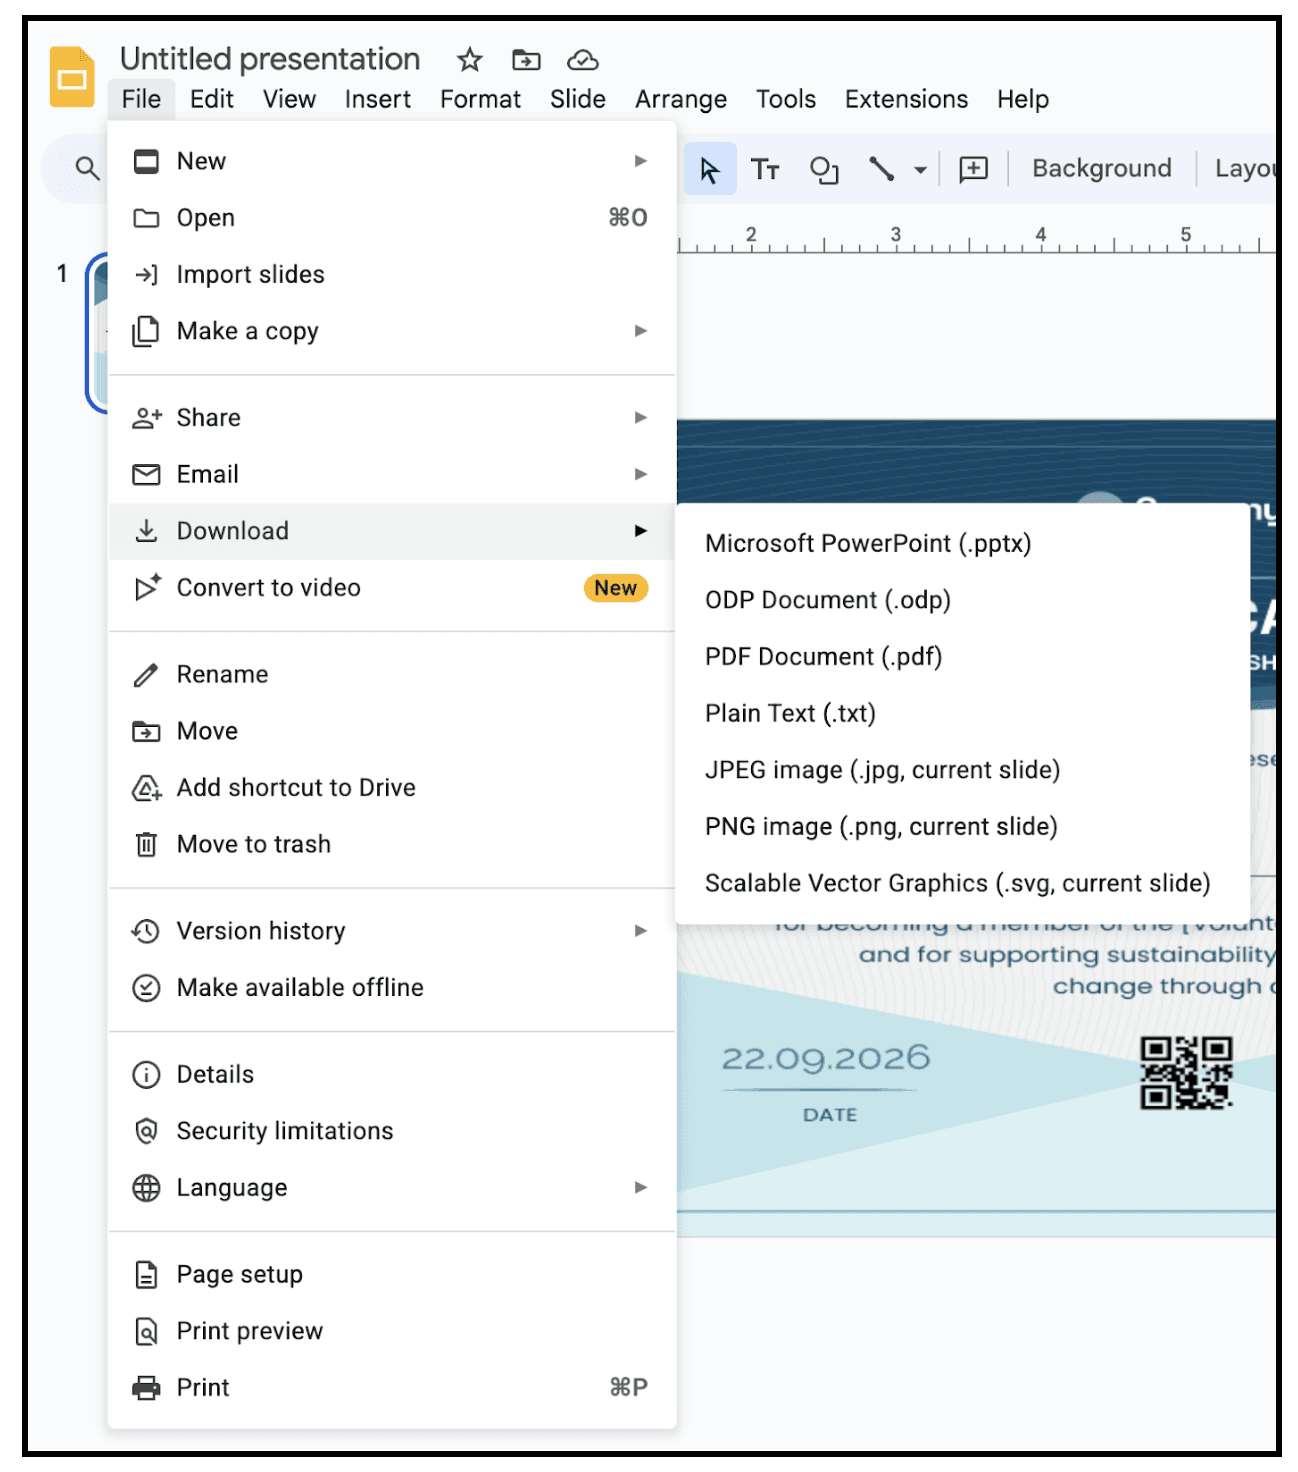
Step 6: Download the Certificate File
Once your design is complete, download the certificate.
Go to Menu, then File, then Download, and select your preferred format. PDF is usually the best choice as it preserves quality and works well across devices.
At this stage, your certificate is ready to be shared.
And this is where many creators pause and think, “How do I send this to everyone?”
The Real Challenge: Manual Certificate Distribution
Sending certificates manually may work for a few participants, but it becomes difficult as numbers increase.
Manual distribution often involves:
Downloading files repeatedly
Renaming certificates individually
Double-checking email addresses
Sending multiple emails
Tracking who received their certificate
This process is time-consuming and error-prone, especially at scale.
Why Digital Certificates Matter More Than Ever
In 2025, the global number of digital credentials issued grew to more than 320 million, up from 74.7 million in 2022, highlighting the rapid adoption of secure and verifiable recognition for skills and learning outcomes.
This growth reflects broader trends in online education and professional development, where learners increasingly prefer credentials that are easy to verify and share across platforms.
Additionally, research shows that 96 percent of learners who earned a digital credential reported that it added value to their careers, while 78 percent said it improved their chances of securing a job when compared to traditional certificates.
These insights demonstrate why digital certificates are becoming the preferred choice for educators, training providers, and learners alike.
How Wauld Simplifies Certificate Distribution
Wauld is a digital credentialing platform that removes the manual effort from certificate distribution without changing how you design certificates.
Once your Google Slides certificate is ready, Wauld allows you to:
Upload your certificate design
Add recipient details in bulk
Issue certificates automatically
Provide verifiable and shareable digital credentials
Certificates are no longer just static PDF files. They become secure digital credentials that learners can access and share easily.
From Design to Delivery: Google Slides and Wauld Workflow
The combined workflow is simple:
Design your certificate in Google Slides
Upload the design to Wauld
Add learner or participant data
Issue certificates at scale
Learners receive verified digital certificates
This process saves time and reduces errors for organizers while improving the experience for learners.
Who This Workflow Is Best For
This approach works well for:
Educators and teachers
Online course creators
Student communities and clubs
Workshop and webinar organizers
Training programs and bootcamps
If you already use Google Slides and struggle with certificate distribution, this workflow makes the process easier and more reliable.
Focus on Recognition, Not Administration
Certificates should highlight achievement, not add stress.
By designing certificates in Google Slides and distributing them through Wauld, you save time, reduce errors, and deliver a better experience for learners.
You design once.
You distribute efficiently.
Your learners receive credentials they are proud to share.
Ready to Simplify Your Certificate Workflow?
If you already create certificates in Google Slides and want a faster, more reliable way to issue and manage them, Wauld is built for exactly that.
Turn your certificate designs into trusted digital credentials and make recognition effortless.
FAQs on Certificate Automation with Google Slides and Wauld
Get answers to common questions about designing, automating, and distributing certificates using Google Slides and Wauld.


